
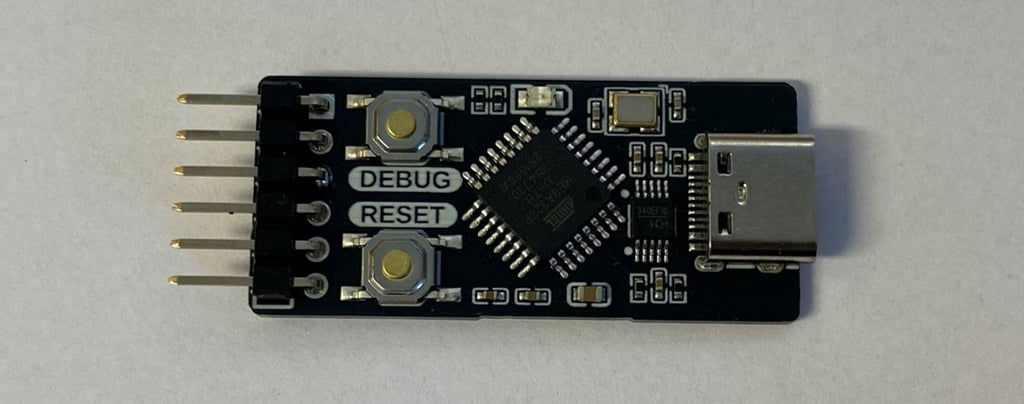
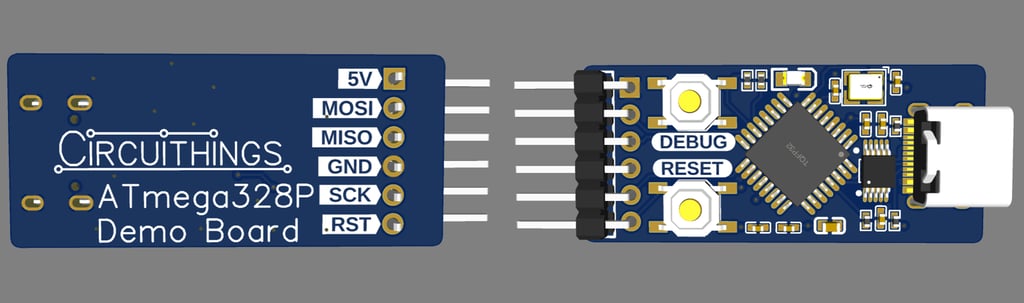
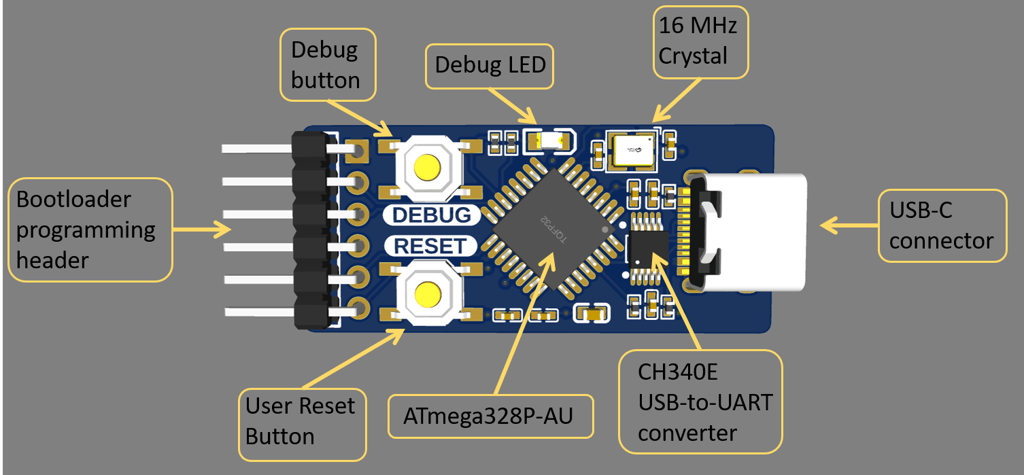
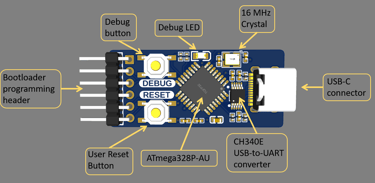
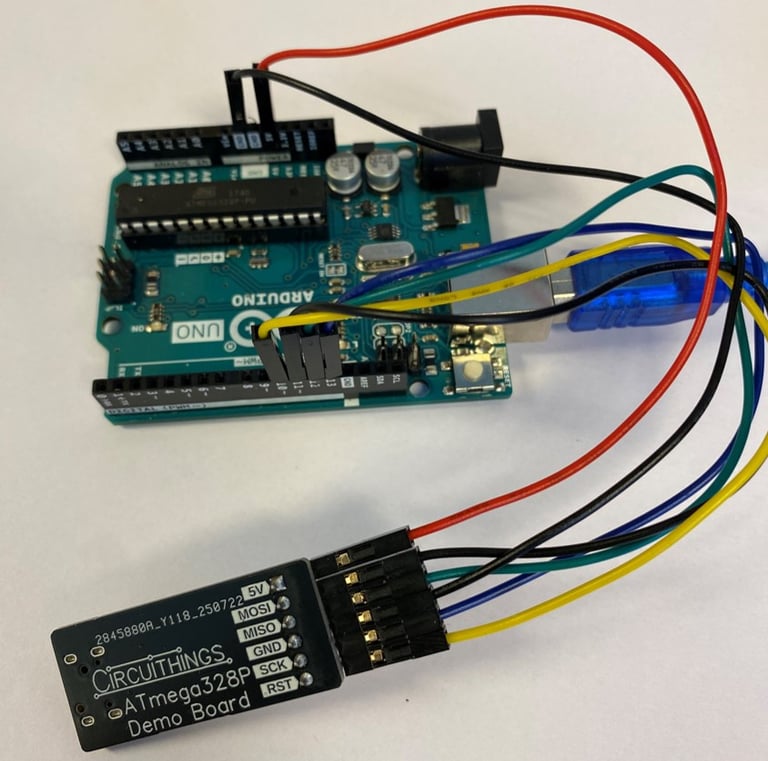
Custom ATmega328P Arduino board
A custom pcb with the ATmega328P microcontroller, demonstrating flashing of Arduino bootloader, making it a working base design for expanding to more complex projects
I made this board to show that the guide I made in the blog post about making a custom ATmega328P board actually works, and that it can form a basis for other projects - both for me and for anyone reading this who wants a starting point for their own projects.
As a reminder, here’s the schematic from the blog post, just with some specific component choices added in:
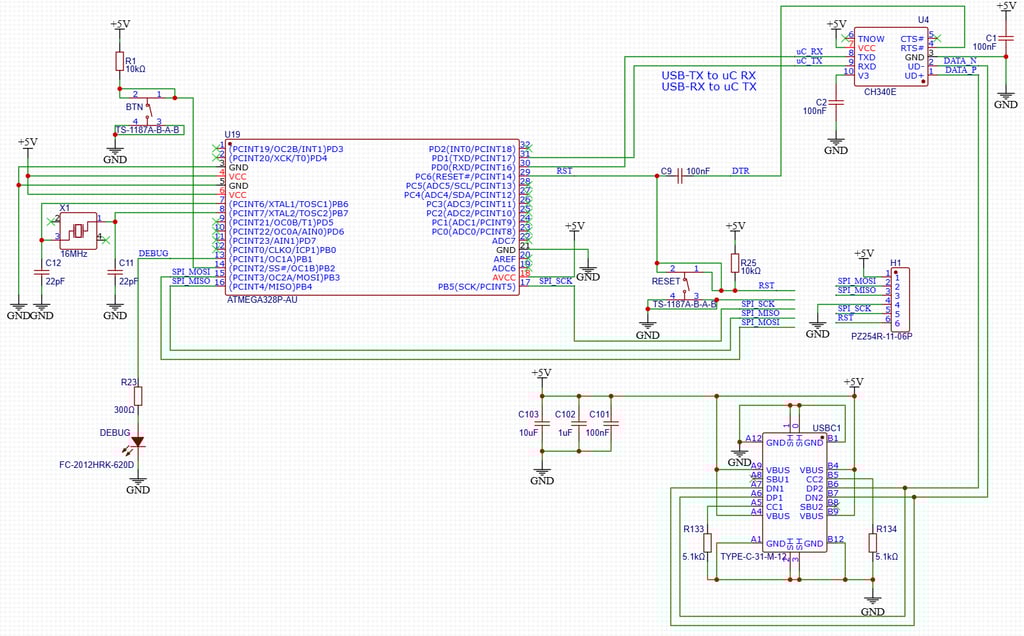
It basically uses the schematic in the blog post, with component selections tailored to JLCPCB’s assembly service. The components selected has been chosen to 1) be available in the JLCPCB assembly service library, 2) have a large stock in JLCPCB assembly service library so that it’s likely the part still is still available for new designs at a later time, and 3) pick as many components from JLCPCB assembly service library’s “basic” section that doesn’t incur extra costs.
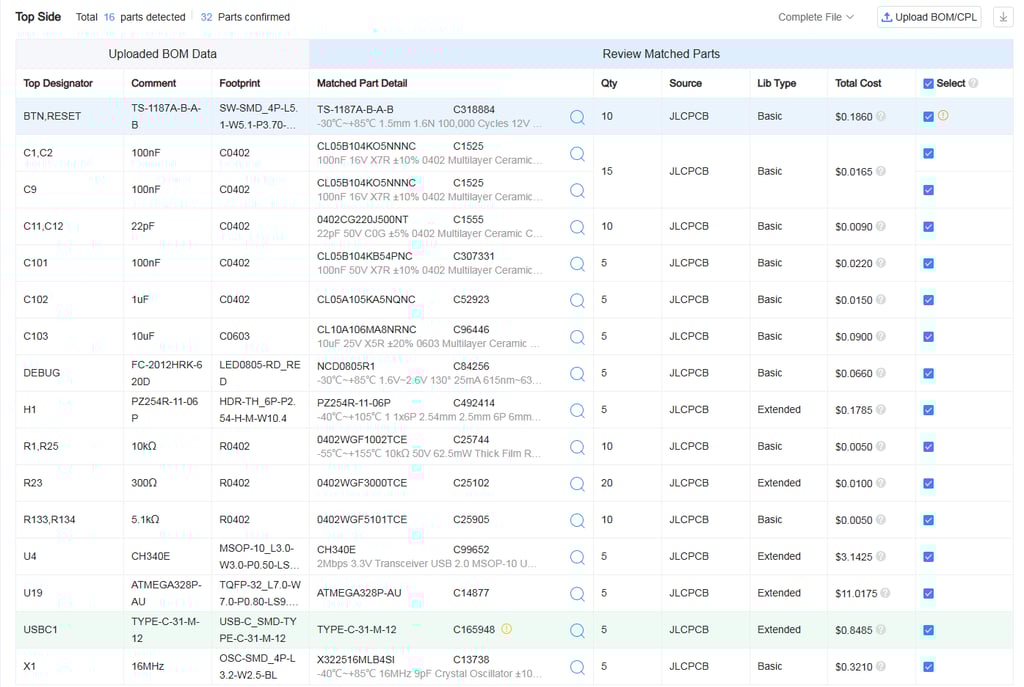
The BOM is as shown here (keep in mind it shows the component costs for 5x boards, not just one):
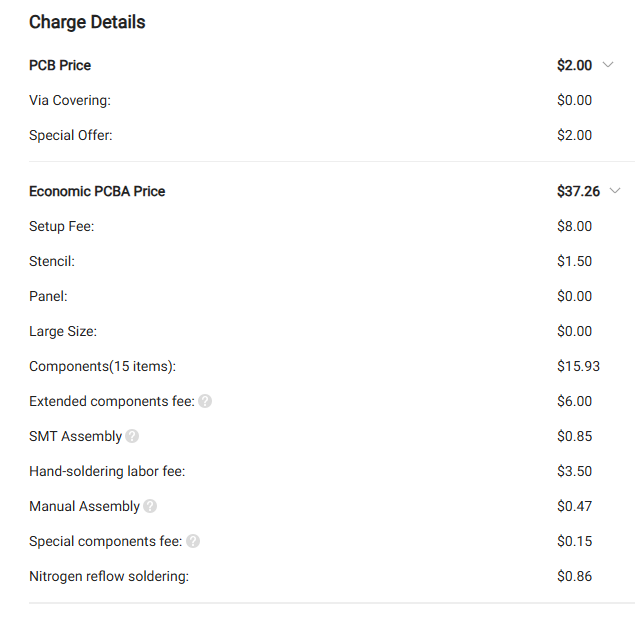
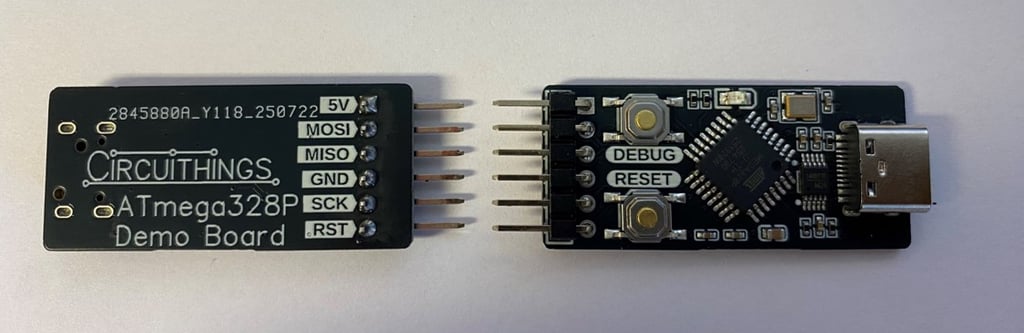
The board is small enough (38.1 mm x 17.1 mm) that it is far below the 100 mm x 100 mm limit JLCPCB has where extra costs for larger boards starts to kick in. The total manufacturing cost of this design is a combination of $19.62 in Non Recurring Engineering (NRE) costs, and $19.64 in scaling cost pr board, for a total of $39.26 for 5x assembled boards (unit price of $7.85):
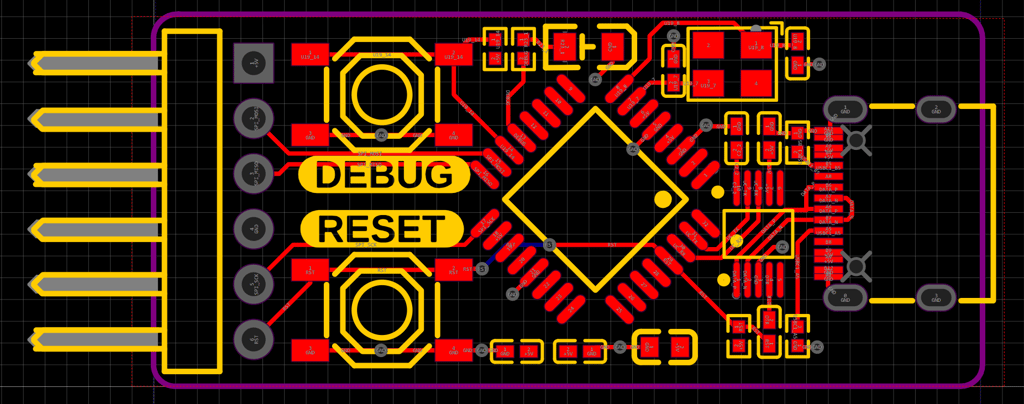
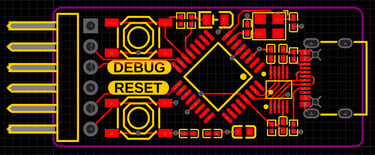
The component layout is not optimized for maximum compactness, instead I placed the components in a way that made the layout easy and traces as short as possible.
The bottom layer is ground, and the top layer is 5V pour, interspersed with signal traces. The design is so uncomplicated that I ended up not needing any stitching of almost any traces, practically all signal traces ended up on the top layer:
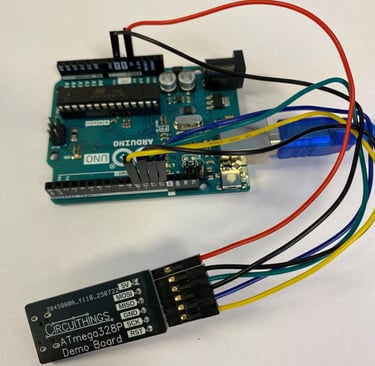
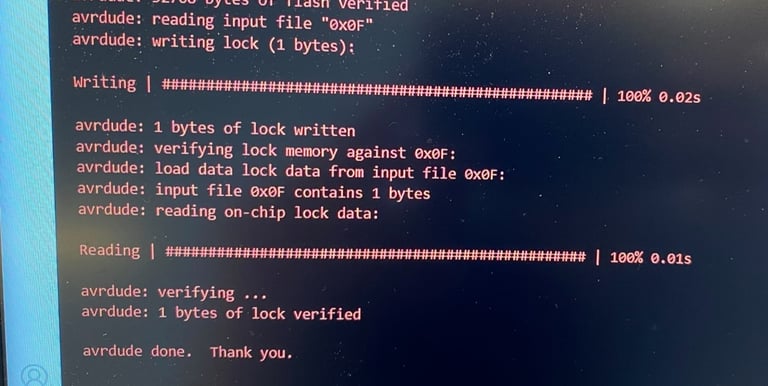
The bootloader flashing went without problems, just like shown in the blog post:
Here’s a little demo sketch showing LED Blink and Serial communication working (DEBUG button is pressed between each image):
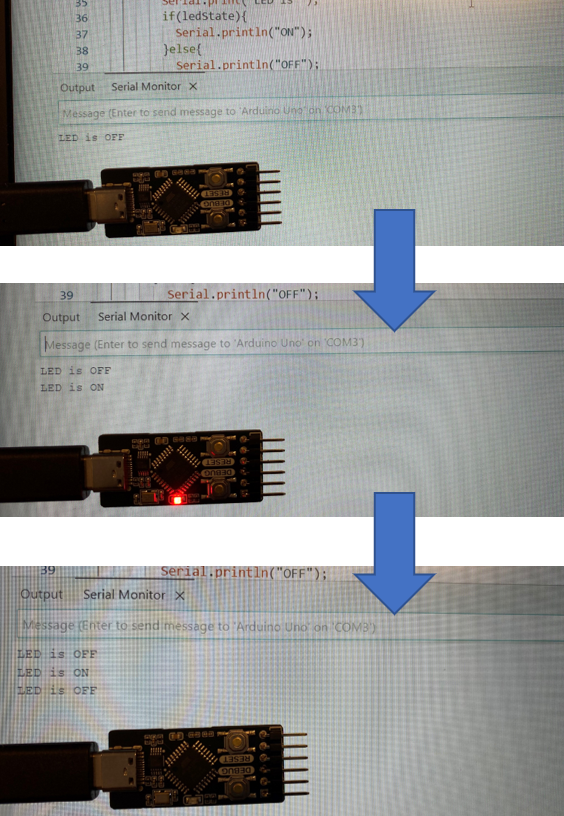
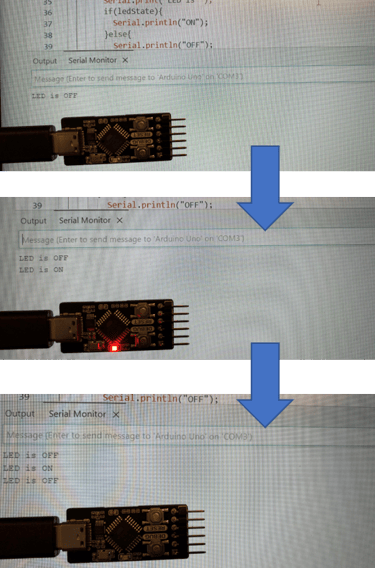
The quick test sketch showed that reading the pushutton state, controlling the LED, and serial communication, all worked as expected. The Arduino code is basically just the example sketch called "Debounce", with a few lines of Serial communication sprinkled in:
Circuithings
It's all about circuit things.
contact@circuithings.com
© 2025. All rights reserved.
Contact